
Tags
candles, candles at home, candles carving, candles making equipment, candles shop, candles supplier, carved candles, carving, coloured wax, DIY candles, handmade candles, How its made, materials for candles, monna candles, paraffin wax, wax melter
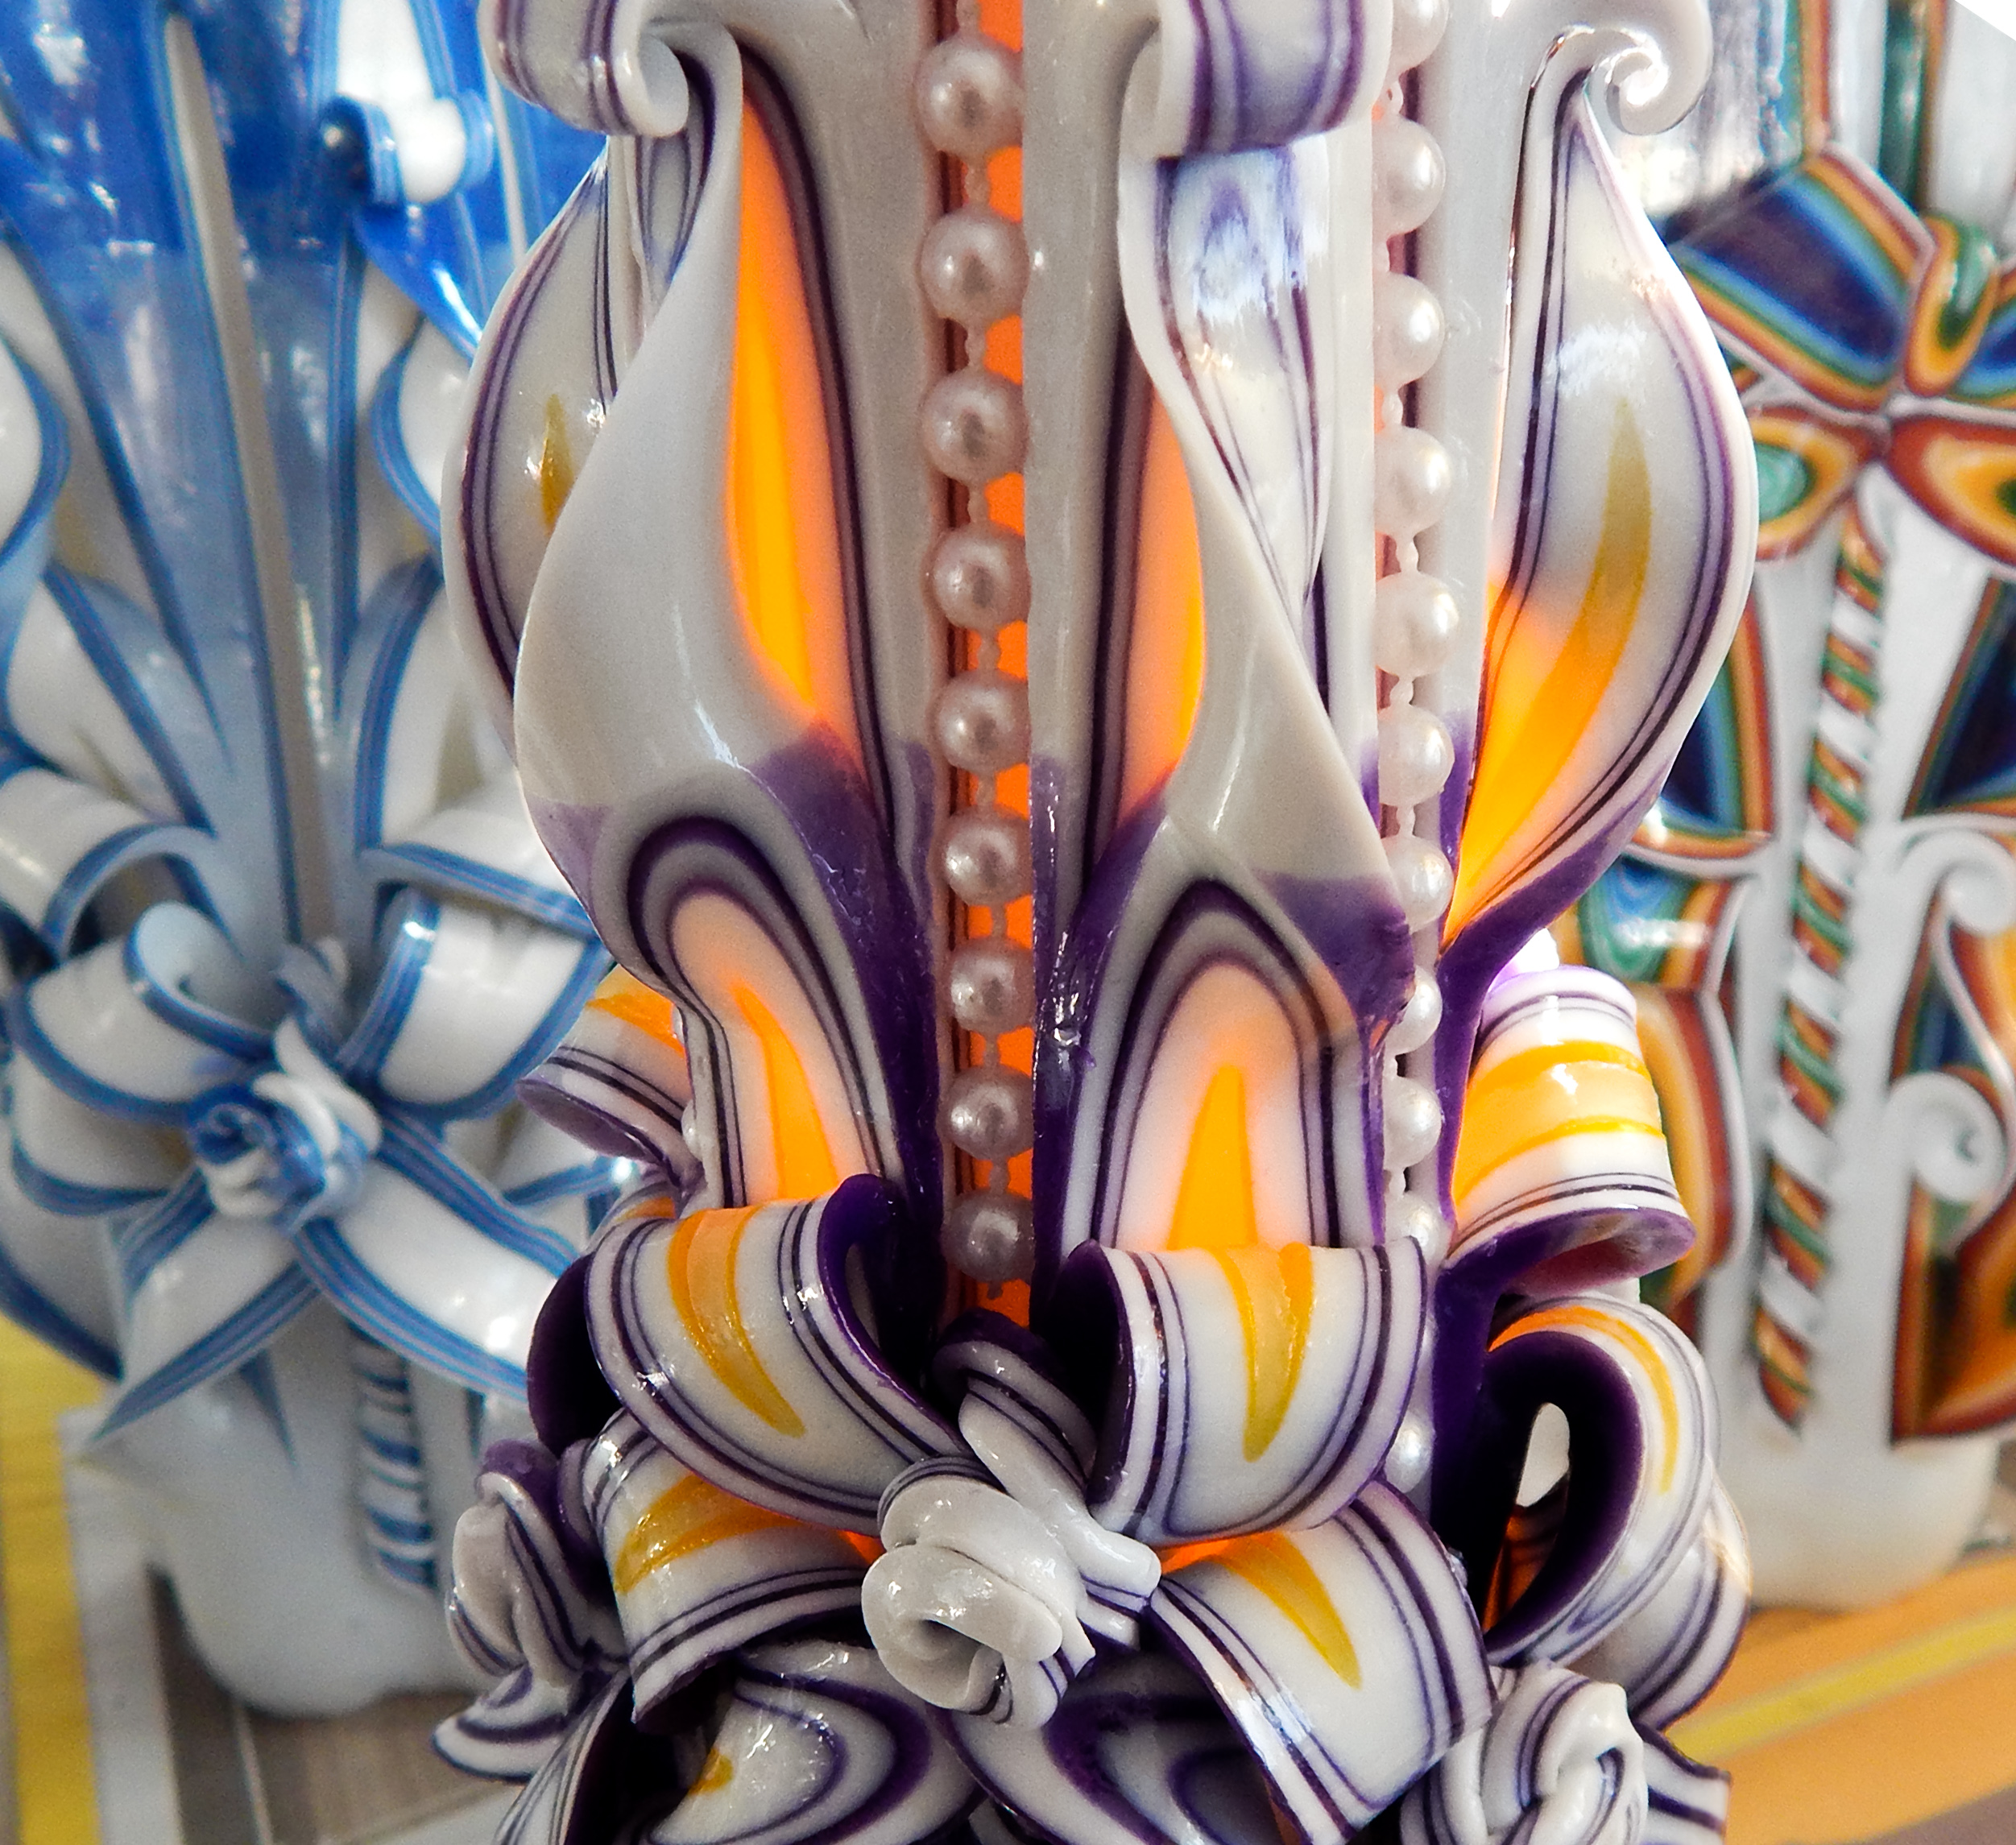
When you look at these beautiful candles, which are capturing your attention and you сan not tear your eyes away, you may think that making them is complicated. And you are right. It is not easy. Coming from time immemorial, handed down from master to master technology of making carved candles is full of secrets and enigma. I spent three years in order to reach my current level of candle carving. I even now I still got a lot of things to learn.
But despite it, this is not something that couldn’t be achieved when you manage to invest your time and efforts to learn it.
In this Post I start introduction of my method of candles carving process. I will tell you about some of the principles and secrets of this art work, will describe you what materials, equipment and tools I am using, how to make core of candle, how to make colouring, how to dip candles into melted wax and finally how to crve the candle.
I hope that my posts will help you in understanding the value of each candle, and maybe some of you will make decision to learn this technology deeper and become a candle master in the future.
GETTING START.
First question which you have to solve is to locate your work space somewhere in you home or apartment. Often I hear that it can be done on your kitchen. But it is a big illusion. Once you will try this way, you will understand that the kitchen is not the right place where paraffin wax melter has to be located. Maybe you can to do at the kitchen several samples of soy candles, but not carved candles. Best place is small storage room next to your garage, or room in the basement or similar place. One important tip – you have to keep warm temperature at this room during carving process. It is extremely important. The best room temperature is around 78-79 F. WARNING – this room SHALL BE well ventilated.
You may see at the bottom picture how look my personal workshop room. Te area is only 14 sq. feet.

It’s my working table and candles dipping equipment. Two most important places.
Another important tip is to cover the floor of your work space by cheap and replaceable material. During working process paraffin is dropping down on the floor and it is very hard to remove it from ceramic flour tile or out of wood floor.

It is dipping equipment which holds 8 containers with coloured wax. Inside it is hot water. Wooden sticks are needed for thorough mixing paraffin during melting. Important tip here is to keep melting temperature to maintain sufficient density of coloured wax. High temperature will let the wax washed off a candle and didn’t stick to it. The low temperature lead to the fact that imposed layers of wax will become too thick, and it will peels off from a candle during the cutting process.
In my next post I will describe you what kind of material and equipment I am using, and will explain how to make core of the candle.
I hope my explanation was interesting and useful to you.
Monna Candles. All rights reserved
